Digital Matte Painting - Exercises: Fundamentals of Matte Painting
03/04/2023 - 07/07/2023 (Week 1 - 14)
WONG JUN ZHE / 0353613
Digital Matte Painting / B' Creative Media / Taylor's University
WONG JUN ZHE / 0353613
Digital Matte Painting / B' Creative Media / Taylor's University
Exercises - Fundamentals of Matte Painting

INSTRUCTIONS
MIB
"
You will undergo a series of exercises that will enhance your understanding of
matte as listed below:
- Perspective Studies (Landscapes and Interiors)
- Compositions
- Value Studies
- Sky replacements
- 2.5D mattes
- Invisible Set Extensions
"
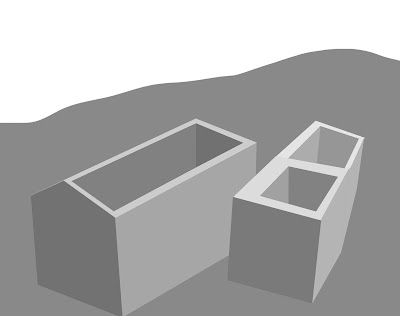
1. Perspective Studies (Week 1)
We are tasked to search for images that showcase 1, 2, and 3 point perspective
views, study and analyse them by drawing perspective lines on the images.
Then, using basic shapes, build the image to show a good understanding on
perspective.
1 point perspective:


2 point perspective:


3 point perspective (bird's eye view):

3 point perspective (worm's eye view):


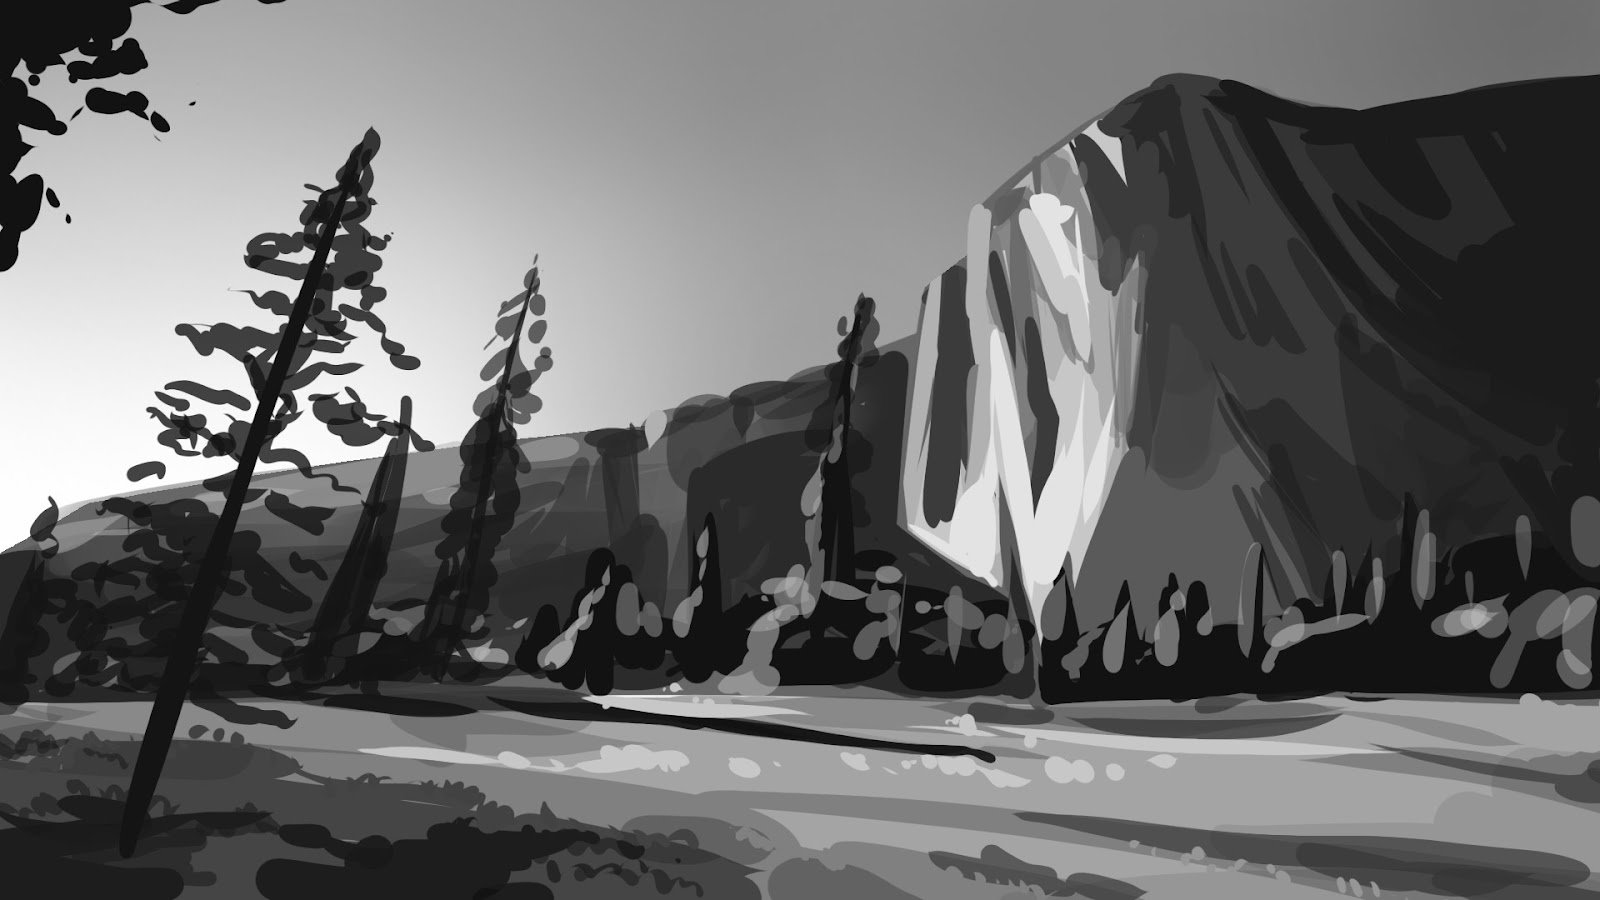
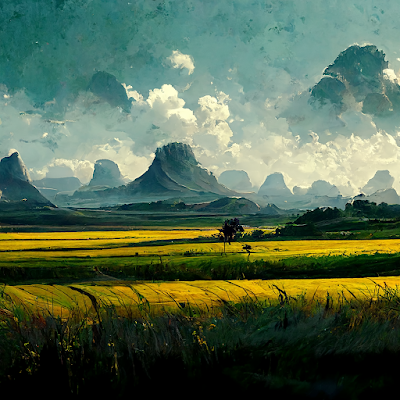
2&3. Value + Composition Studies (Week 1 - 2)
Below is my attempt on painting landscapes for value and composition studies. However, I should have put my focus on the big shapes and forms instead of the details.
 |
| #1 |
 |
| #2 |
 |
| #3 |
 |
| #4 |
 |
| #5 |
 |
| #6 |
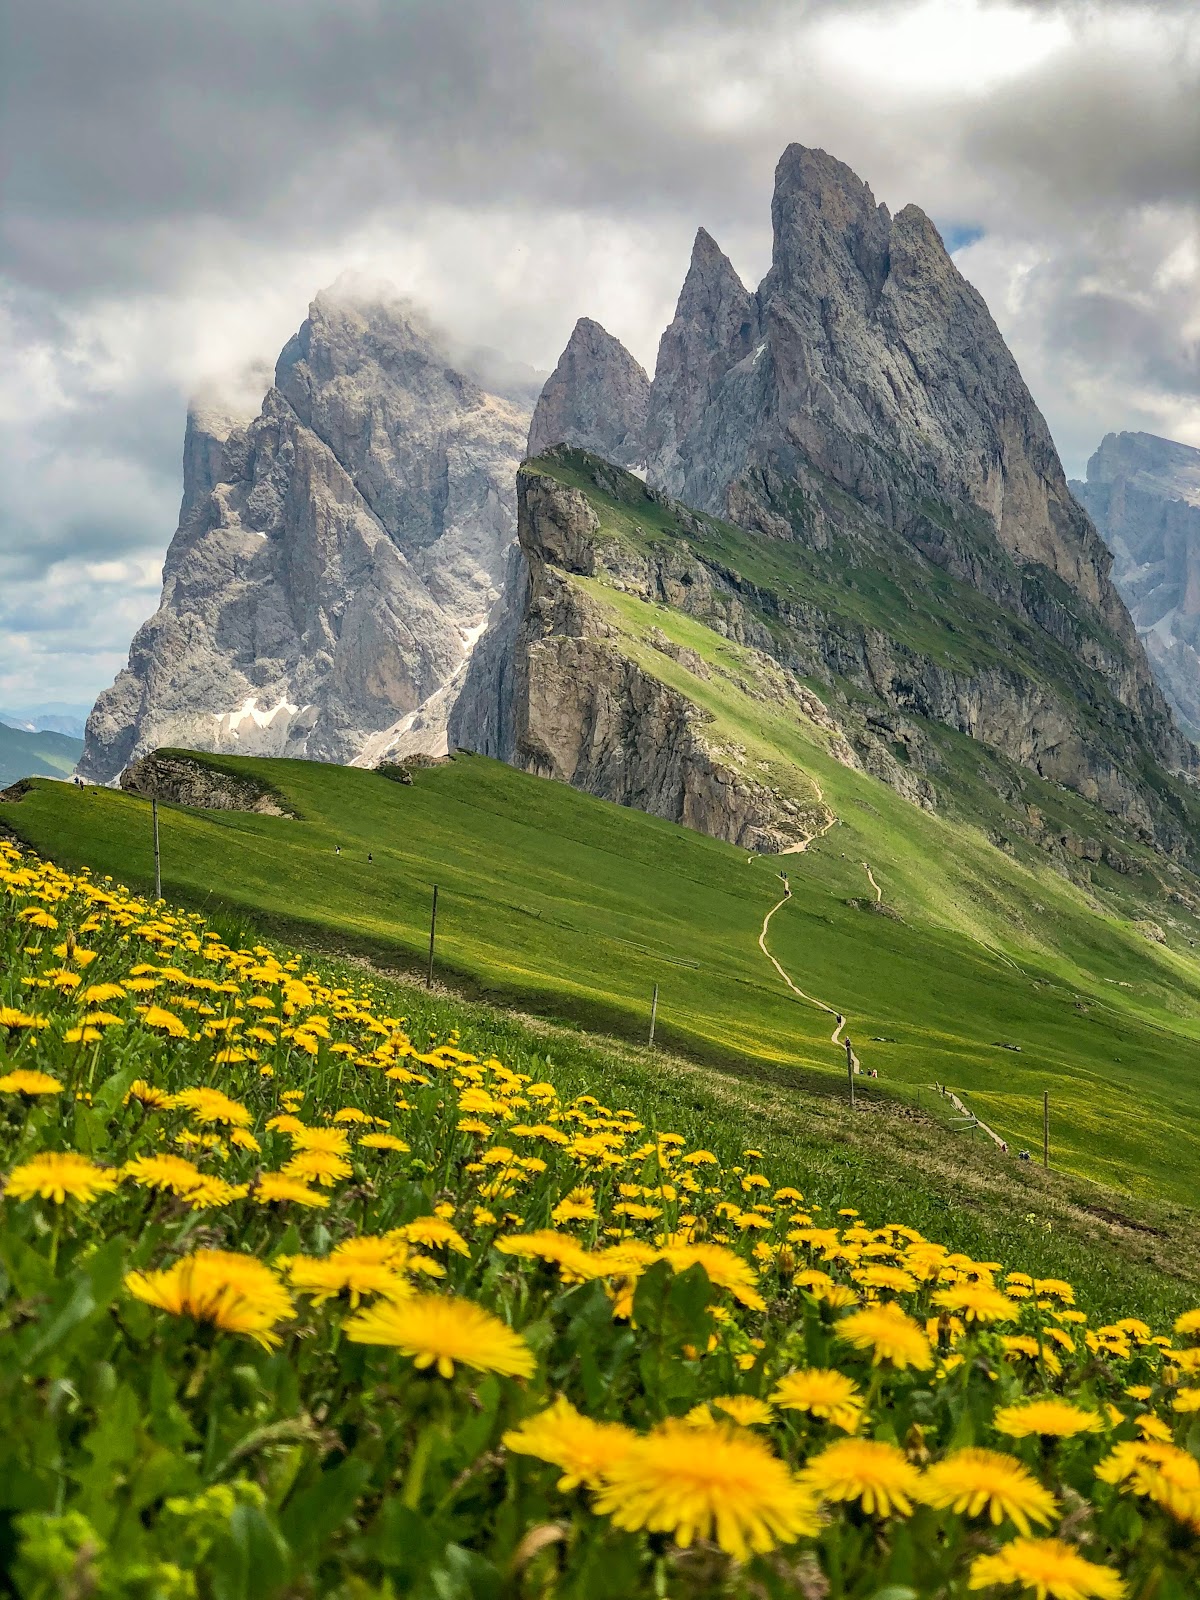
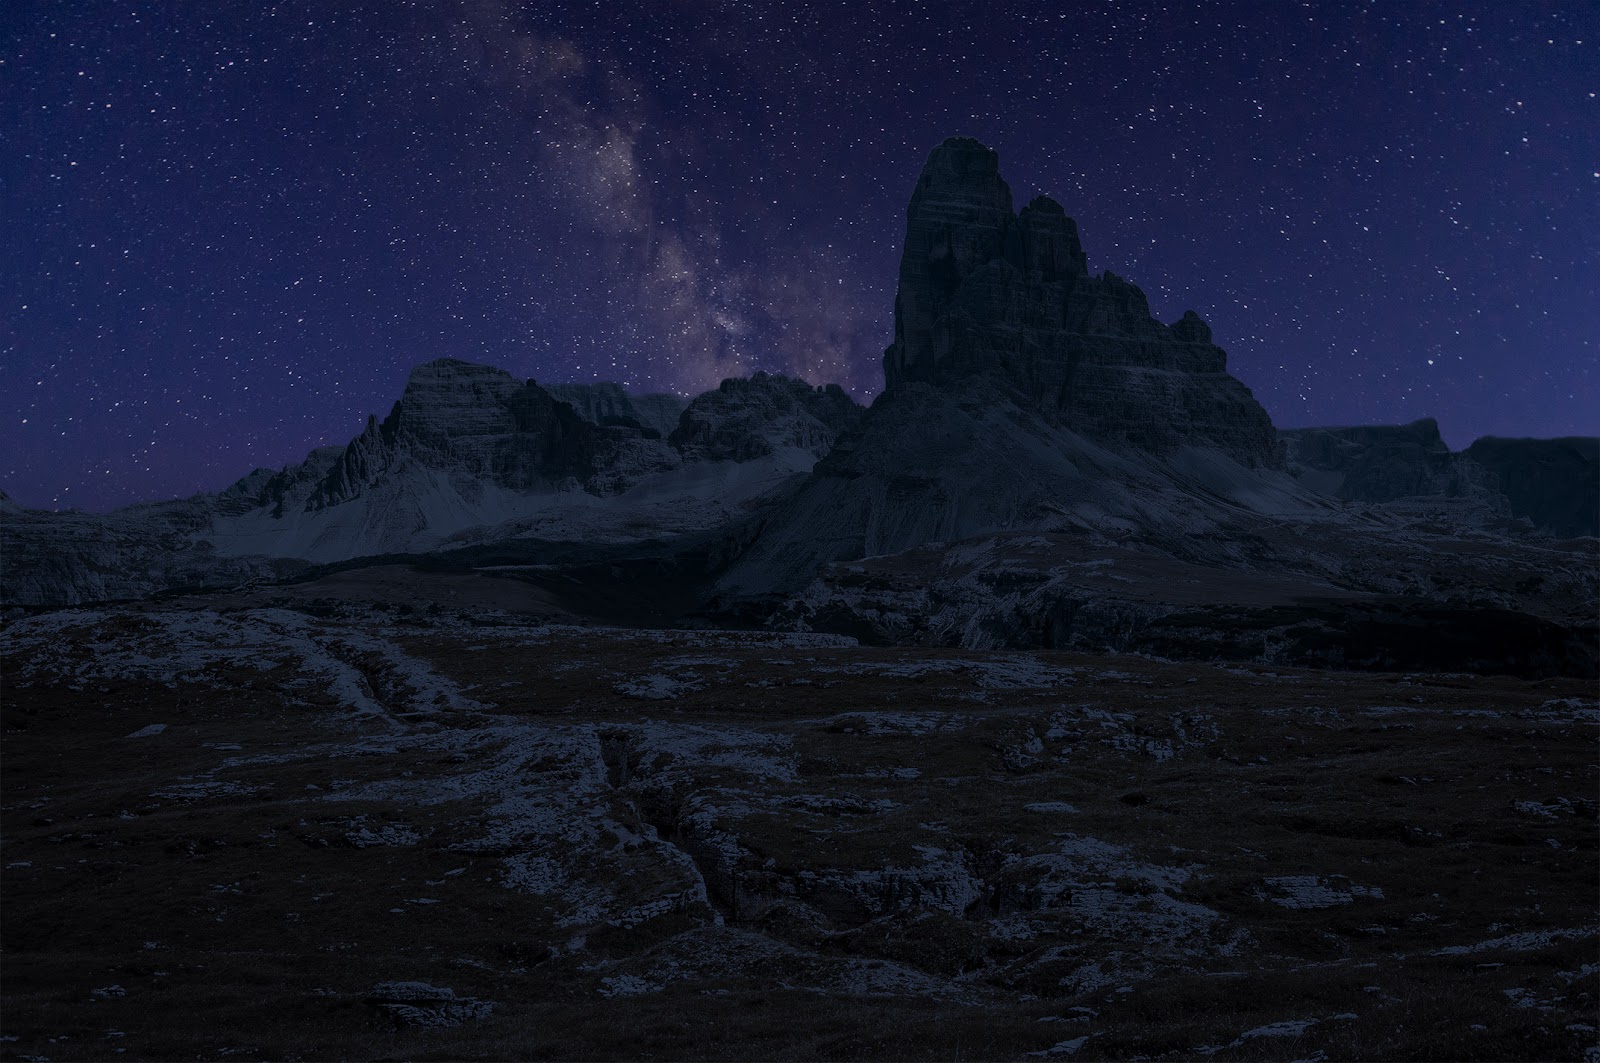
References:
 |
| Ref #1 |
 |
| Ref #2 |
 |
| Ref #3 |
 |
| Ref #4 |
 |
| Ref #5 |
 |
| Ref #6 |
4. Sky Replacements (Week 3-4)
We are required to take one existing photo and replace the sky to 5 different time of the day, taking into account the environmental ambience.
Original Photo from Unsplash:
|
| Original Landscape |
Process:
For daytime, the process is pretty much the same as seen below.

As for night time, I followed a Youtube Tutorial ( https://www.youtube.com/watch?v=Q71_gNNMl64) as it was a little different to change from day to night.

Final Renders:
 |
| #1 Sunrise |
 |
| #2 Noon |
 |
| #3 Afternoon |
 |
| #4 Evening |
 |
| #5 Midnight |
 |
| Compilation |
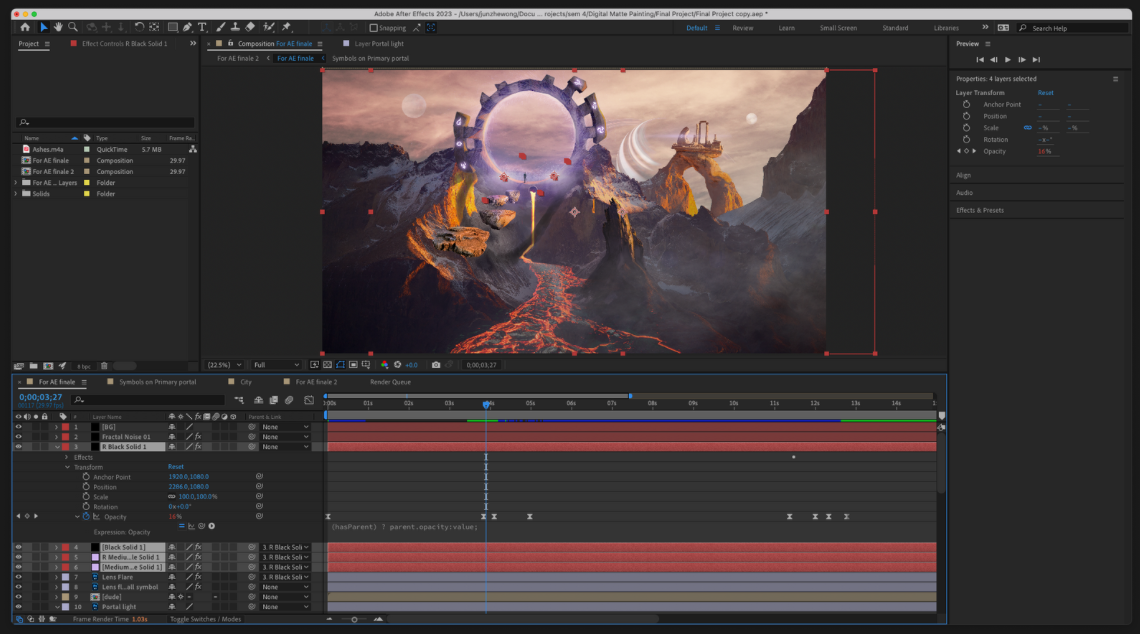
5. 2.5D Mattes (Week 12 - 14)
For this exercise, we are required to demonstrate the use of 2.5D mattes by creating a 15-30 second short video.
There are 4 main components to my video:
1. Portal
2. Floating stones
3. Background planets
4. Mist Effect
1. Portal
Step 1:Rename and rearrange layers.

Step 2: Import into AE.

Step 3: Add lens flare effect.
*Lens flare function, glow effect on some layers, colour correction to change the colour to match the light purple of the glow.
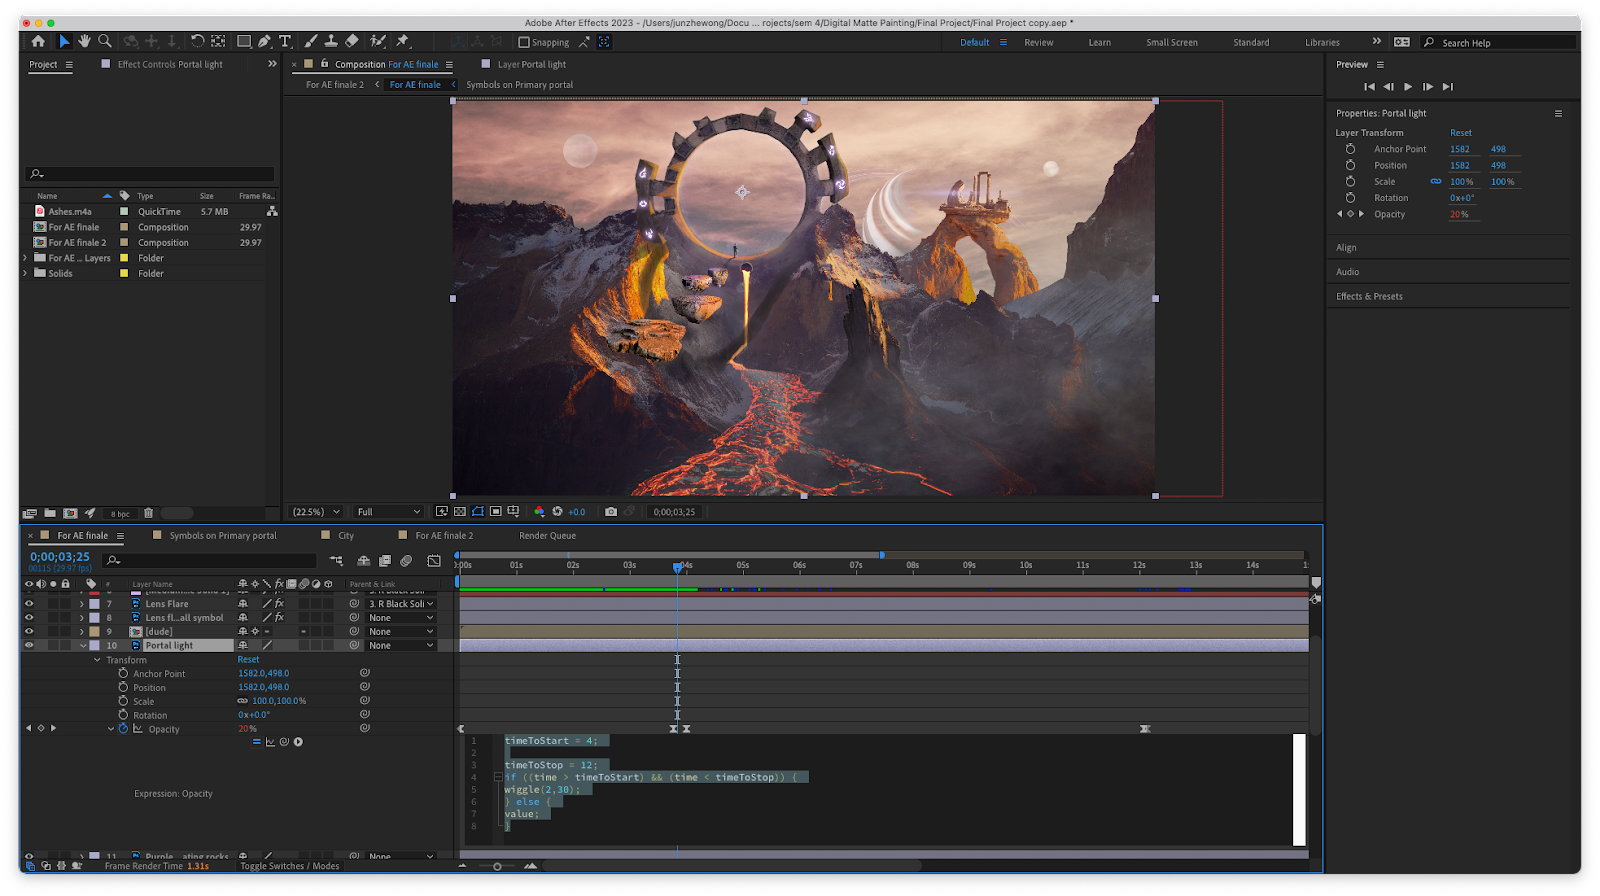
Step 4: Animate the portal activating.
a. Timing the activation: keyframes in the parent layer and linked the others to it using the pick whip icon.


2. Floating Stones
Added keyframes and wiggle effect under 'Position'.

3. Background Planets
Added keyframes and subtle wiggle effect under 'Position'.

4. Foreground Mist Effect
Followed tutorial: https://www.youtube.com/watch?v=ptQ6Re6JvWM

.
.
.
.
.
.
.
.
.
.
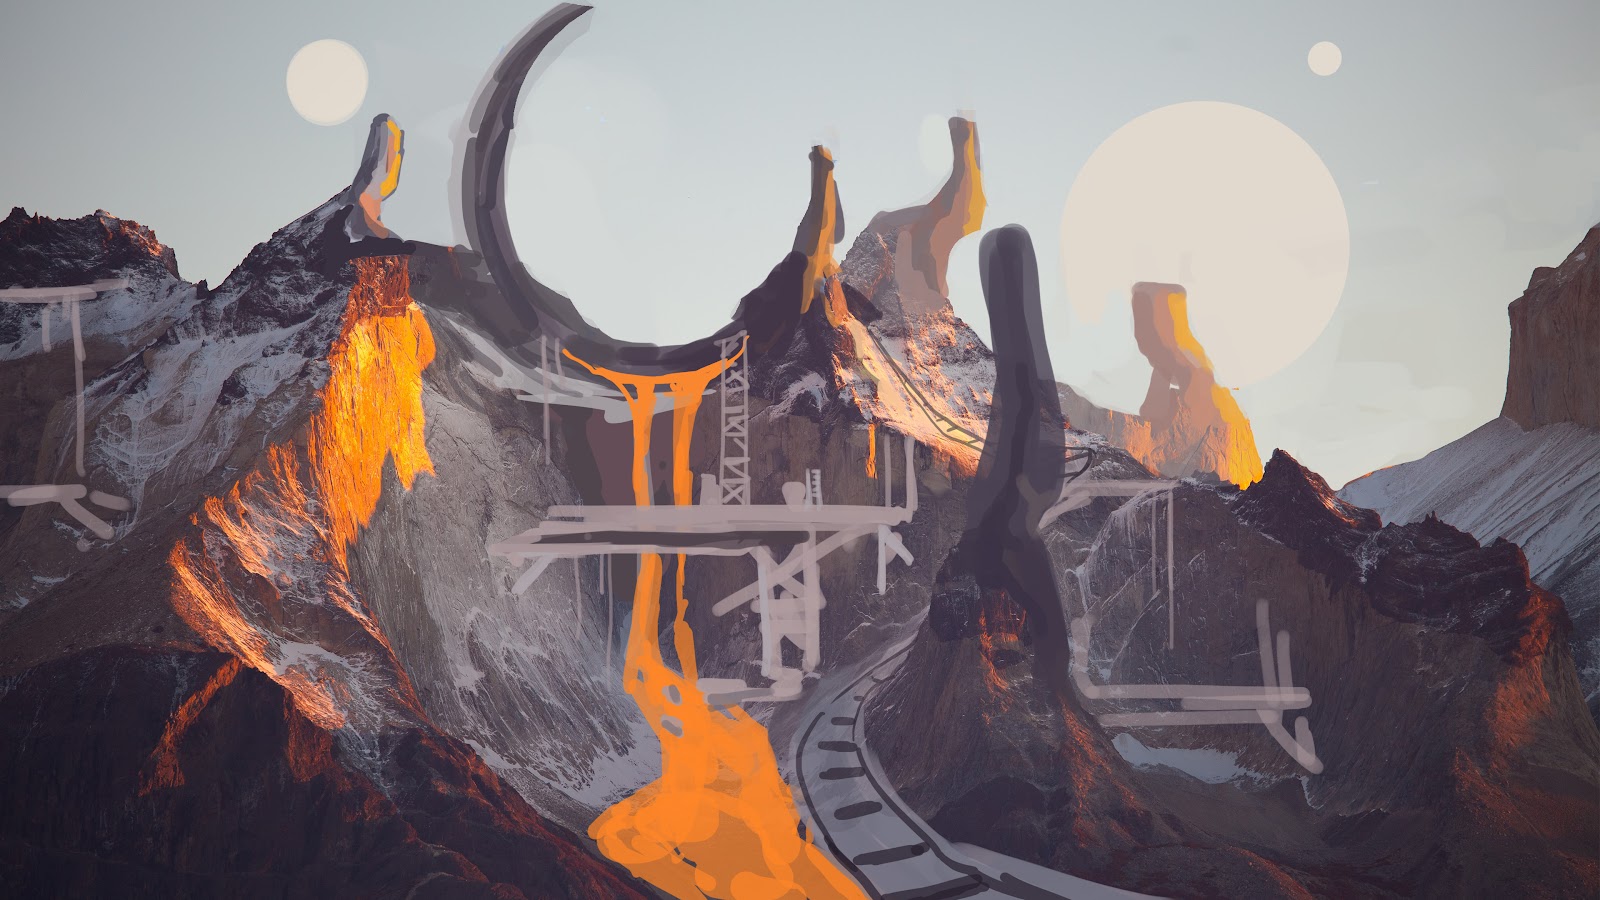
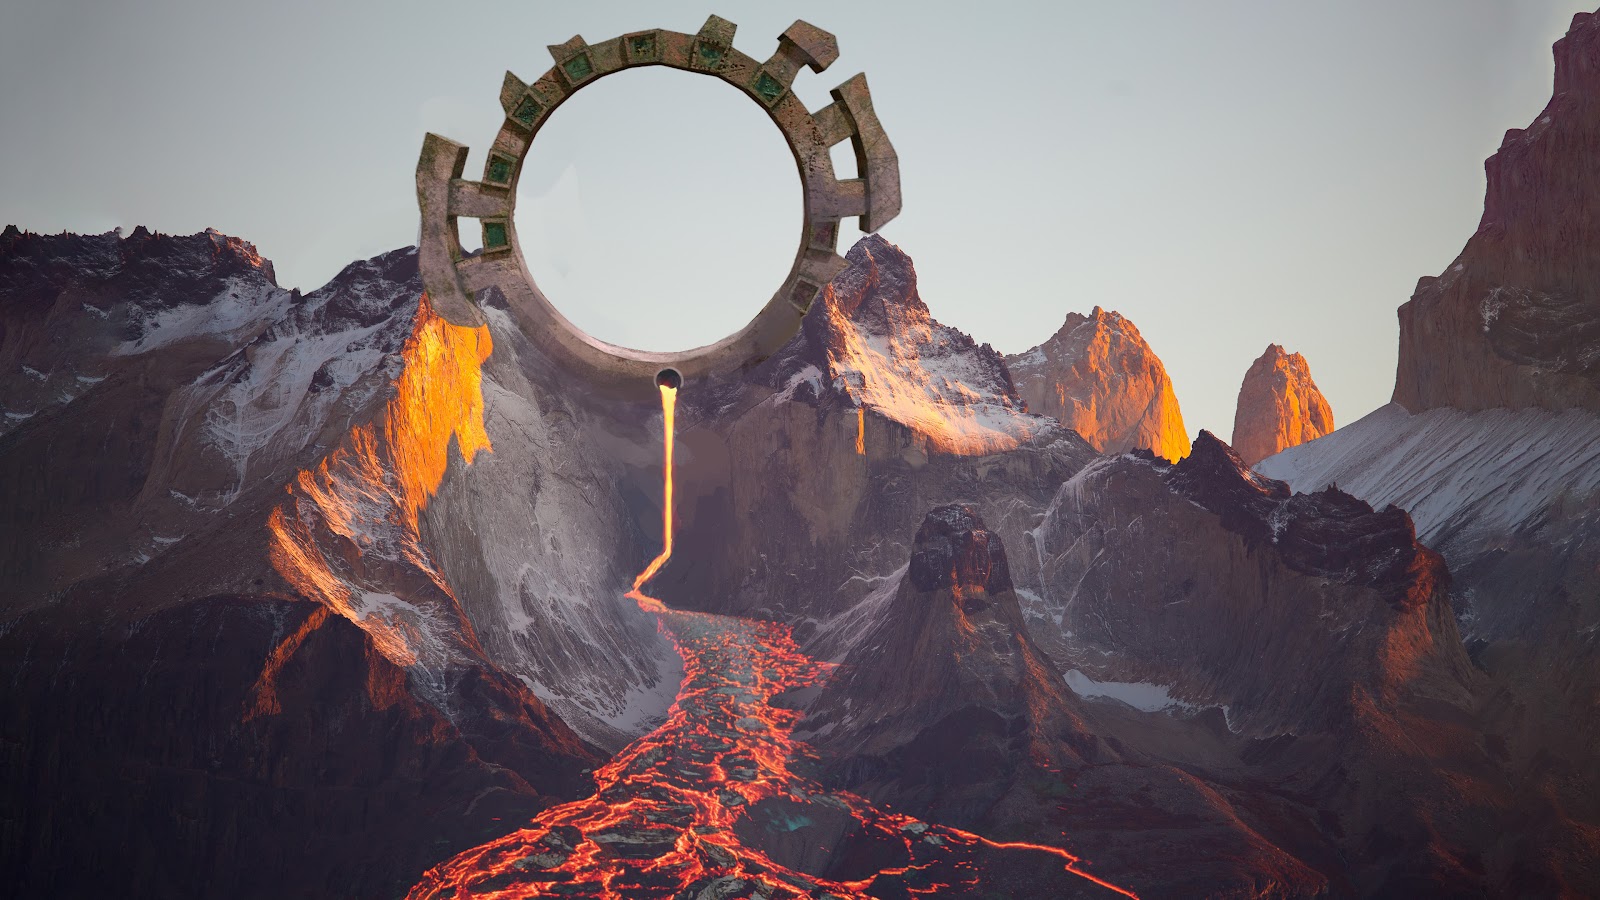
6. Invisible Set Extension (Week 7 - 13)
Base Plate:

Concept Sketches:
 |
| Concept #1 (Chosen) |
 |
| Concept #2 |
Further Development:


FEEDBACK
Week 2: Value + composition study
"Focus more on big shapes over small details."
Week 9: Invisible Set Extension
"The man is MASSIVE. shrink down the size. His shadow looks fine."
Week 12: Invisible Set Extension
"Add more elements. Cityscape? Another portal? Maybe a broken portal in the bg."
REFLECTION
Overall, these exercises helped me in understanding how things reacts to an environment. The light, shadows, reflection, etc. created by objects are crucial to make an environment look realistic.
OTHER TASKS
Week 1: Exploring AI for Idea Generation
AI explored: Midjourney, DiffusionBee (Stable Diffusion),
Screenshot of using Midjourney:


Images generated using Midjourney:


Comments
Post a Comment